
 Call us today at 1-888-758-7527


Home Gym Flooring: The Complete 2025 Buyer’s Guide
What Is the Best Home Gym Flooring? Rolls vs Tiles vs Mats (8 mm, 3/8″ & 1/2″)
Designing a durable, quiet, and easy‑to‑clean home gym starts with the right home gym flooring. This guide compares rubber rolls, interlocking tiles, and rubber mats, explains thickness (8 mm vs 3/8" vs 1/2"), and covers use‑cases like garage gym flooring, basement gym flooring, and upstairs/apartment home gyms where noise reduction matters. You’ll also find a simple coverage calculator, DIY installation steps, and answers to common questions like “stall mats vs rubber rolls?” and “how to clean rubber gym floors?” Shop our rubber gym flooring collection for rolls, tiles, and mats.
At‑a‑glance recommendations
-
Best all‑around: 8 mm rubber flooring (rolls or interlocking tiles) for mixed cardio + strength.
-
Heavy strength / kettlebells: 3/8" (≈9.5–10 mm) rubber.
-
Frequent barbell drops: 1/2" rubber + platform/shock pads in drop zones.
-
Garage gyms: Rubber rolls (fewer seams), add ramp transitions at the door.
-
Basements: Rubber tiles or tape‑down rolls to accommodate moisture control.
-
Upstairs/apartments: 3/8"–1/2" rubber + underlayment for sound and vibration control.
-
Budget/temporary: EVA foam tiles for light duty only (not for heavy weights).
How to choose home gym flooring (5 key factors)
-
Room type & subfloor
-
Garage/basement (concrete): prioritize impact protection and edge transitions.
-
Upstairs/wood subfloor: target impact sound and vibration reduction.
-
-
Primary use
-
Cardio only, light dumbbells, kettlebells, powerlifting/Oly lifting, or a mix.
-
-
Thickness vs. drop frequency
-
The more you drop heavy weights, the thicker and denser your surface—and the more you’ll benefit from platforms or shock pads.
-
-
Format fit
-
Rolls excel in rectangles; interlocking tiles make DIY easier in irregular rooms; mats localize heavy impact under racks and machines.
-
-
Budget, odor sensitivity, and maintenance
-
Recycled rubber can have a “new rubber” smell initially; virgin rubber is typically lower‑odor. All rubber cleans easily with neutral‑pH solutions.
-
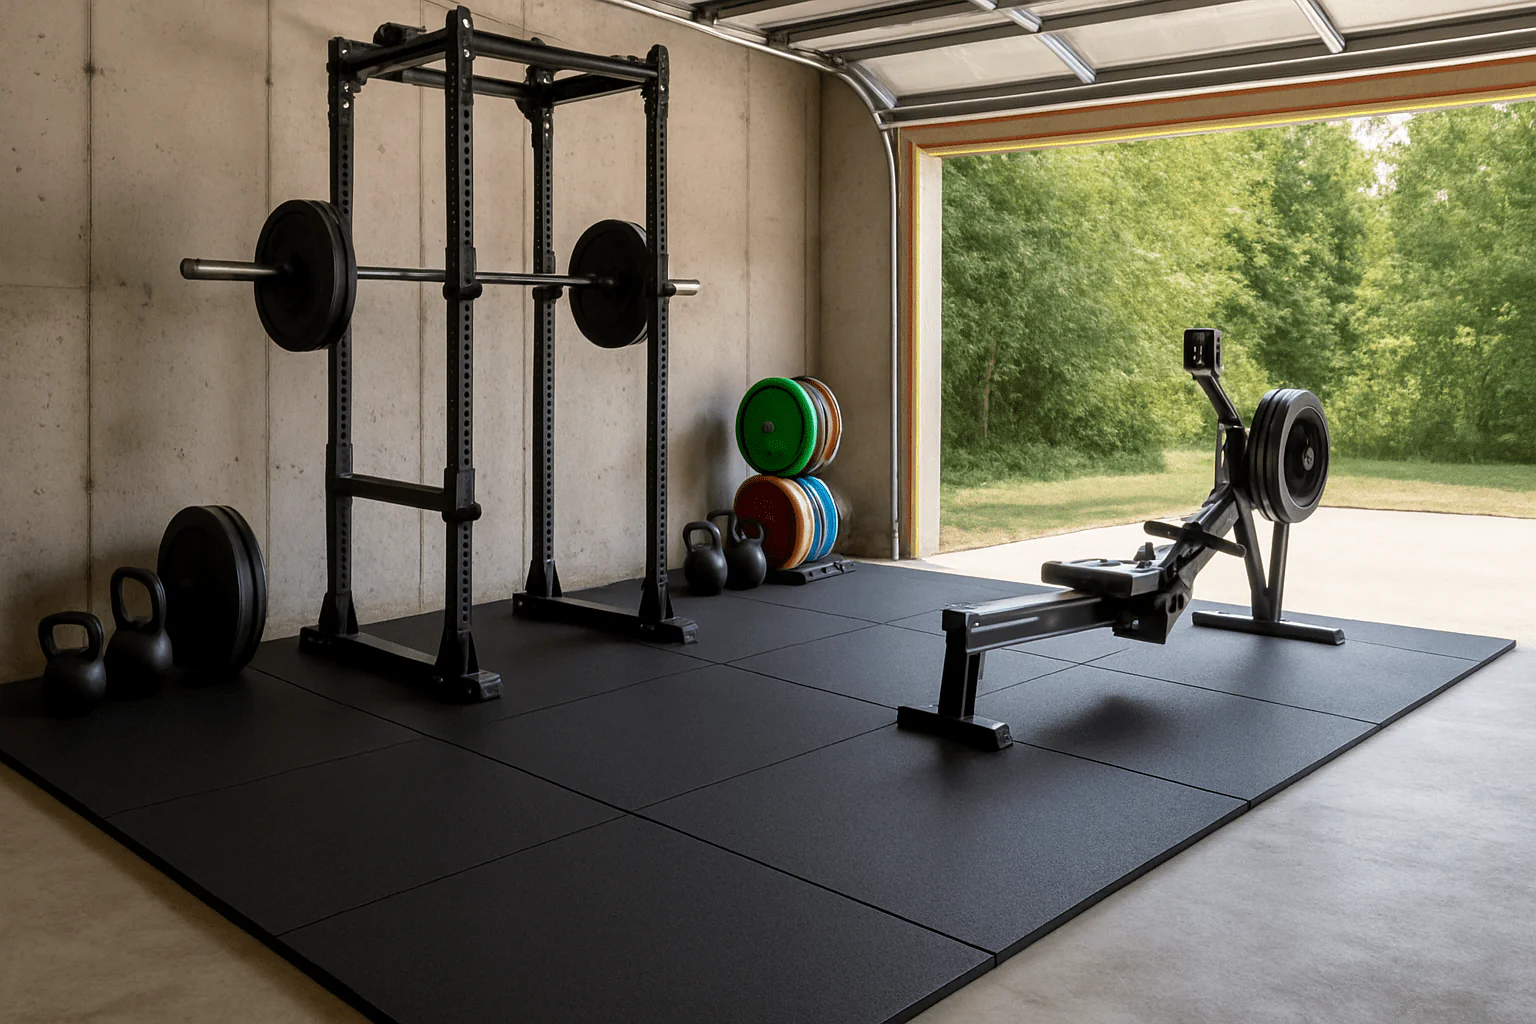
Best home gym flooring by space
Garage gym flooring (over concrete)
-
Go‑to: Rubber flooring rolls in 8 mm–3/8" for a clean, continuous surface with minimal seams.
-
Edge safety: Install reducer/transition strips at the garage threshold.
-
Heavy lifting: Add 1/2" mats or a platform under the bar path to protect concrete and reduce bounce.
-
Temperature swings: Favor loose‑lay or tape‑down; glue only when conditions meet adhesive specs.
Basement home gym flooring (moisture‑aware)
-
Format: Interlocking rubber tiles or tape‑down rolls to allow breathability.
-
Moisture control: Address humidity/water issues first; avoid trapping liquid beneath fully glued impermeable layers.
-
Odor: Choose low‑odor/virgin options if ventilation is limited.
Upstairs or apartment home gym flooring (noise control)
-
Goal: Minimize impact noise through joists and shared walls.
-
Stack‑up: 3/8"–1/2" rubber over an acoustic underlayment in impact zones.
-
Machine isolation: Place treadmills/rowers on dense rubber mats; add a shock pad under contact points if needed.
Multi‑purpose rooms / office‑gym hybrids
-
Flexible installs: Interlocking tiles you can lift, replace, or expand.
-
Furniture: Use coasters on top of rubber to spread point loads under desks or chairs.
Formats & materials (what to buy and why)
Rubber flooring rolls (workhorse for home gyms)
-
Best for: Rectangular rooms, continuous look, easy sweeping.
-
Pros: Fewer seams; stable under racks and treadmills; highly durable.
-
Cons: Heavy to handle; trimming required; seams may need tape/glue on long runs.
Interlocking rubber floor tiles (DIY‑friendly)
-
Best for: Irregular layouts, renters, phased projects.
-
Pros: Tool‑free; easy to replace a single tile; finished edges.
-
Cons: More seams than rolls; alignment/pattern attention required.
Rubber mats (localized protection)
-
Best for: Under power racks, platforms, and cardio machines; creating drop zones.
-
Pros: Very dense; movable; cost‑efficient for small areas.
-
Cons: Not a wall‑to‑wall solution; edges can shift without connectors.
Stall mats (budget‑tough, with caveats)
-
Pros: Dense, rugged, economical per sq ft.
-
Cons: Stronger initial rubber odor; heavy; variable thickness; less refined edge fit.
EVA foam tiles (light duty)
-
Pros: Cushioned, quiet under bodyweight work; ultra‑easy install.
-
Cons: Not for heavy weights or knurled handle contact; dents/compresses; shorter lifespan.
Thickness guide for home gym flooring
| Thickness | Approx. inches | Best use at home |
|---|---|---|
| 6 mm | ~0.24" (~¼") | Light cardio, bikes, compact machines, yoga/stretching, dumbbells ≤ ~50–60 lb. |
| 8 mm | ~0.31" (~5/16") | Best all-around: For mixed cardio + strength with minimal barbell drops. |
| 3/8" | ~0.375" (≈9.5–10 mm) | Heavy strength training; kettlebells; occasional bumper drops on concrete. |
| 1/2" | 0.50" (≈12 mm) | Frequent barbell drops; better noise reduction; pair with platform/shock pads for repeated heavy cycling. |
| 3/4" | 0.75" (≈19 mm) | Dedicated drop zones; use under barbells where you actually drop to save cost elsewhere. |
Remember: Subfloor, drop height, plate type, and frequency all affect protection and noise.
Coverage calculator (10×10, 12×12, 20×20 examples)
Step 1 — Measure: Length × Width = sq ft.
Step 2 — Add overage: Plan +10% for trimming and spares.
Step 3 — Convert to rolls, tiles, or mats.
Rolls (assume 4‑ft width)
-
10×10 room: 100 sq ft → +10% = 110 sq ft → 110 ÷ 4 = 27.5 linear ft → order 28 linear ft.
-
12×12 room: 144 sq ft → +10% ≈ 158.4 sq ft → round to 160 sq ft → 160 ÷ 4 = 40 linear ft.
-
20×20 garage: 400 sq ft → +10% = 440 sq ft → 440 ÷ 4 = 110 linear ft (split across manageable roll lengths).
Interlocking tiles (assume 24" × 24" = 4 sq ft each)
-
10×10 room: (10 ÷ 2)² = 25 tiles → +10% ≈ 28 tiles.
-
12×12 room: (12 ÷ 2)² = 36 tiles → +10% ≈ 40 tiles.
-
20×20 garage: (20 ÷ 2)² = 100 tiles → +10% = 110 tiles.
Most IRON COMPANY gym flooring product pages include an area calculator to help you purchase the correct amount of material.
Tip: Sketch seam layout before ordering to minimize narrow offcuts and keep seams out of high‑traffic lines.
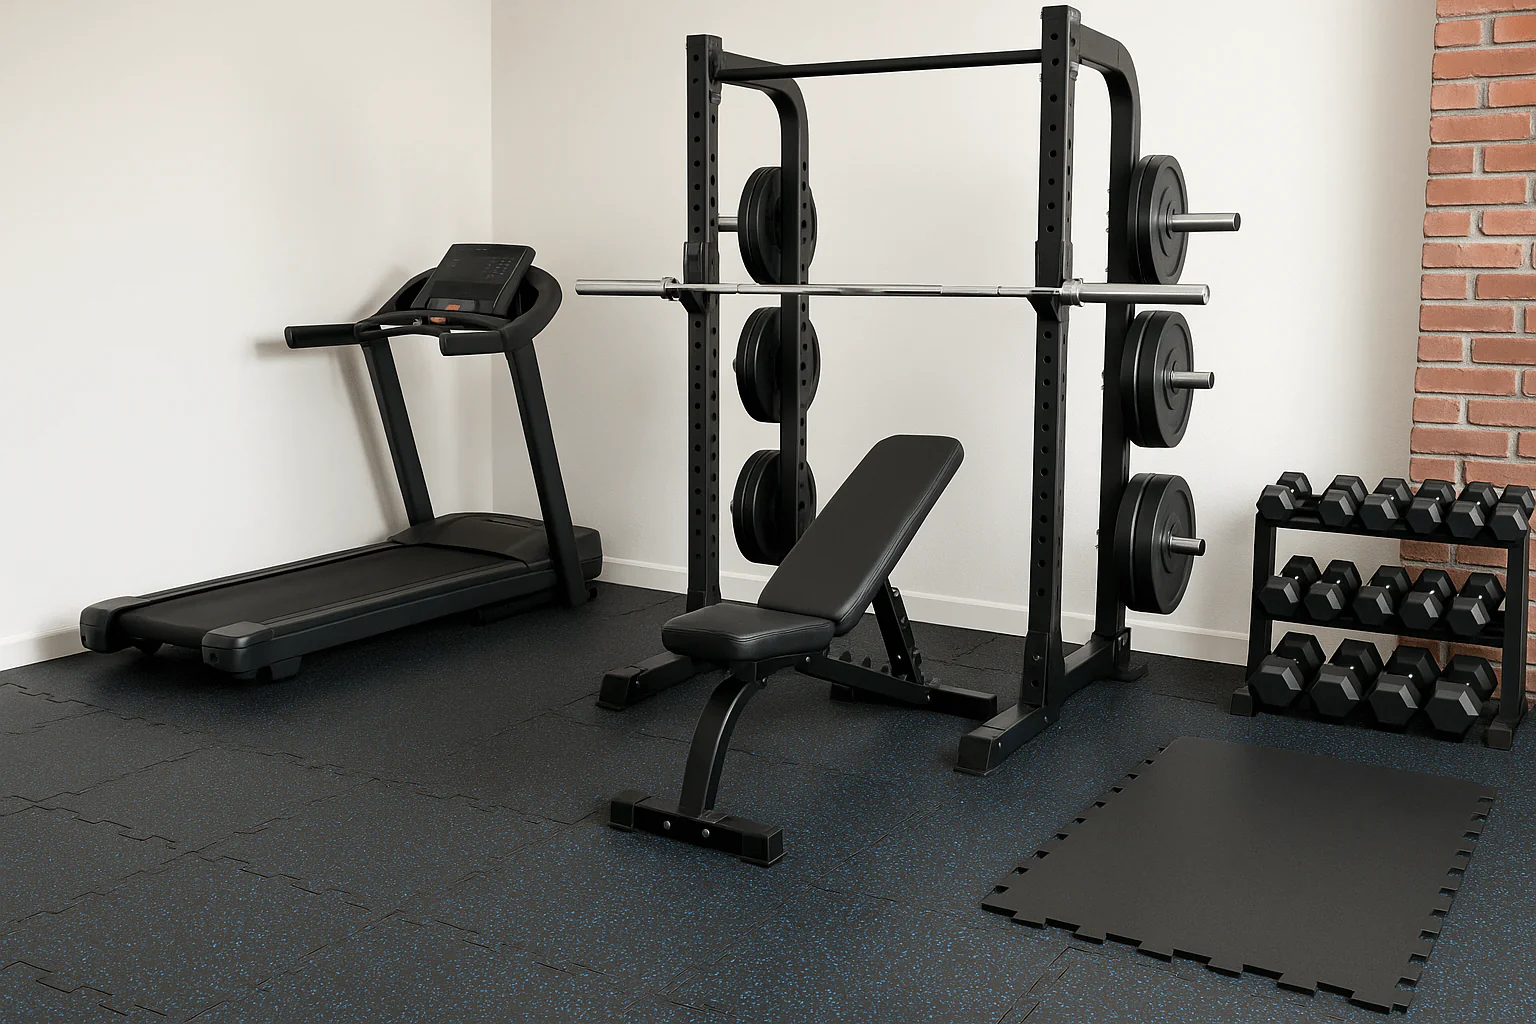
Installation methods (DIY or pro)
Loose‑lay (dry‑fit). Works for interlocking puzzle mats and small roll runs where mass and friction hold flooring in place.
Double‑sided tape. Apply 2–4" tape at seams/perimeters for rolls/tiles to tighten seams while remaining removable—great for basements and garages.
Full glue‑down. Maximum stability for rolled rubber flooring especially in sun/heat‑exposed areas or rolling loads; follow adhesive temperature/humidity guidelines.
Seam finishing. On glued seams, use seam sealer for a smoother, easy‑to‑clean surface. Black caulking can also be used to fill seams or gaps for a cleaner finish.
Ramps & transitions. Install rubber reducer strips at doors and concrete lips; screw‑down aluminum transitions for high‑traffic edges.
Prefer a turnkey solution? Explore Rubber Flooring Installation Services (nationwide).
Link: Rubber Flooring Installation Services
Noise & vibration: upstairs/apartment tips
-
Underlayment matters: A resilient underlayment beneath 3/8"–1/2" rubber reduces footfall and structure‑borne vibration.
-
Targeted drop zones: Use thicker mats (½"–¾") only where you drop.
-
Machine isolation: Place treadmills/rowers on dense rubber gym mats; add shock pads under contact points.
-
Training tweaks: Swap repeated dead‑stop drops for controlled lowers where appropriate to cut noise dramatically.
Odor & VOC considerations
-
Recycled rubber (crumb rubber) often has a noticeable new‑rubber smell at first—this typically subsides with ventilation and a few wet‑mops.
-
Virgin rubber is usually lower‑odor—a good pick for bedrooms/offices.
-
Keep rooms ventilated during/after install and use neutral‑pH cleaners for routine maintenance.
Cleaning & maintenance
-
Daily/weekly: Vacuum or dust‑mop to remove grit that can abrade surfaces.
-
Mopping: Use a neutral‑pH rubber floor cleaner; avoid solvents, bleach, acidic cleaners, and standing water.
-
Spot care: Wipe sweat and chalk promptly to prevent residue buildup.
-
Longevity: Rotate mats in high‑wear areas; use entry mats to reduce tracked‑in grit.
FAQs (home gym flooring)
What is the best home gym flooring overall?
For most homes, 8 mm rubber (rolls or interlocking tiles) balances durability, impact absorption, and cost.
What thickness do I need for heavy weights?
Choose a minimum of 3/8" for heavy strength; step up to 1/2" and 3/4" if you frequently drop barbells. Add platforms or shock pads for repeated heavy drops.
Are EVA foam tiles good for a home gym?
Great for bodyweight and light dumbbells, but not recommended under racks or heavy weights—rubber is far more durable.
Is rubber flooring OK over hardwood?
Yes. Use a suitable underlayment and avoid adhesives that can affect finishes. Test a small area for color transfer.
How do I reduce noise upstairs?
Use 3/8"–1/2" rubber + underlayment, isolate machines on mats, and concentrate thick mats only in drop zones.
Do I need adhesive for rubber rolls?
Not always. Many home installs succeed with loose‑lay + seam tape. Glue for sun‑exposed areas or where rolling loads are expected.
Will the rubber smell go away?
Yes. Ventilate and mop with a neutral‑pH cleaner after install. Consider low‑odor/virgin rubber if sensitivity is a concern.
How much flooring do I need for a 10×10 room?
Plan for ~110 sq ft (10% overage). That’s ~28 linear feet of 4‑ft‑wide roll or ~28 two‑foot tiles.
Ready to build your home gym floor?
-
Shop rubber rolls, interlocking tiles, and mats here:
Link: Rubber Gym Flooring (Category) -
Want broader decision criteria for commercial/large spaces too? Read the general reference guide (non‑home‑specific):
Link: Ultimate Guide to Gym Flooring (Article)
About the Author
J.P. Brice, President and CEO of IRON COMPANY, founded the company in 1996 with a vision to create one of the web’s first and most respected gym equipment suppliers. With a passion for bodybuilding, powerbuilding, and overall fitness that began in 1984, J.P. transformed his dedication into a thriving business that serves residential, commercial, and military markets. He is a recognized expert in the field, holding numerous patents and trademarks on innovative gym equipment products, and he is the lead designer behind the IRON COMPANY branded free weights and strength training equipment.
J.P. Brice is not only a pioneer in the gym equipment industry but also a prolific content creator, contributing extensively to IRON COMPANY's product pages and authoring several in-depth articles on gym equipment and flooring. His expertise is sought after by the U.S. Military, where he plays a critical role in providing the essential equipment needed for combat readiness. With decades of experience, J.P. continues to lead IRON COMPANY with a commitment to quality, innovation, and service.
